- Home
- Shop Online
- LIQUIDATION
- About Us
- Production Credits
- Rentals
- Related Topics
- Blog
- Contact Us

Learn to dye like a pro with Rit Dye's dyeing projects! The Scrunch dye is one of the popular Tie-Dye techniques. Here is a list of what you will need to complete this project!
 1- Prewash sweatsuit/Shirt in warm, soapy water. This helps to remove any finishes that may interfere with dye absorption.
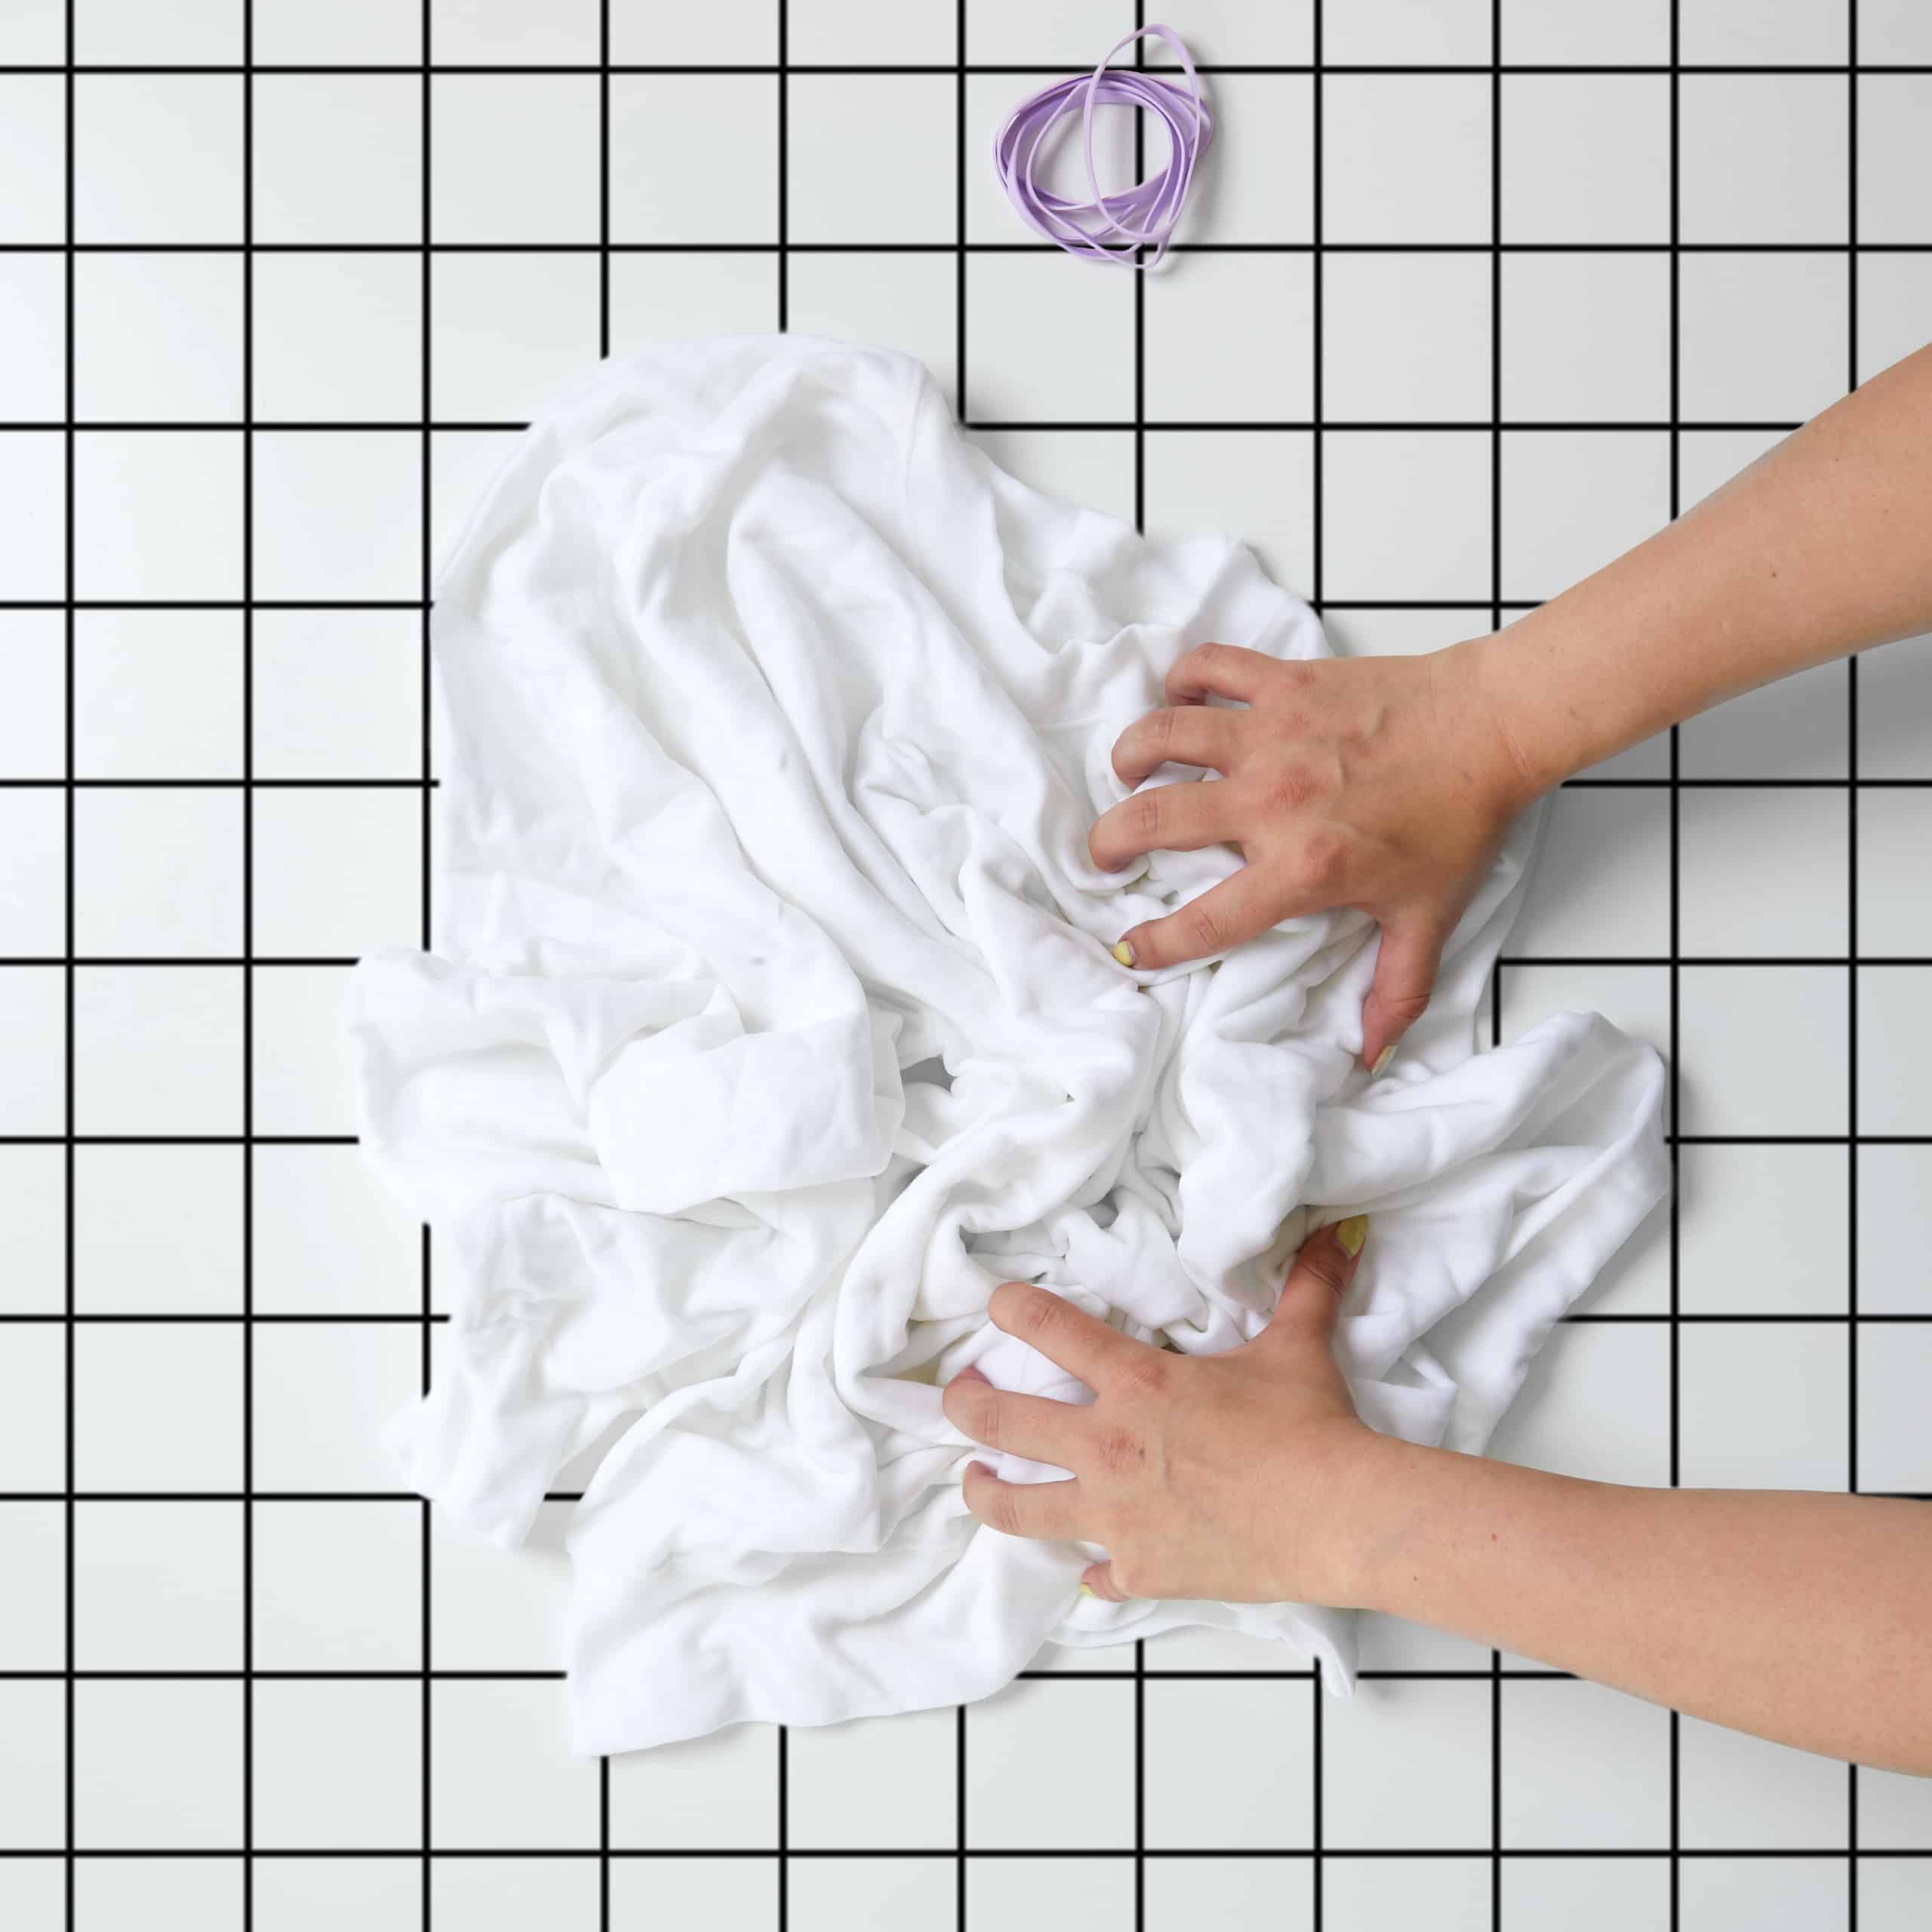
2- Lay fabric out on a flat surface and scrunch randomly
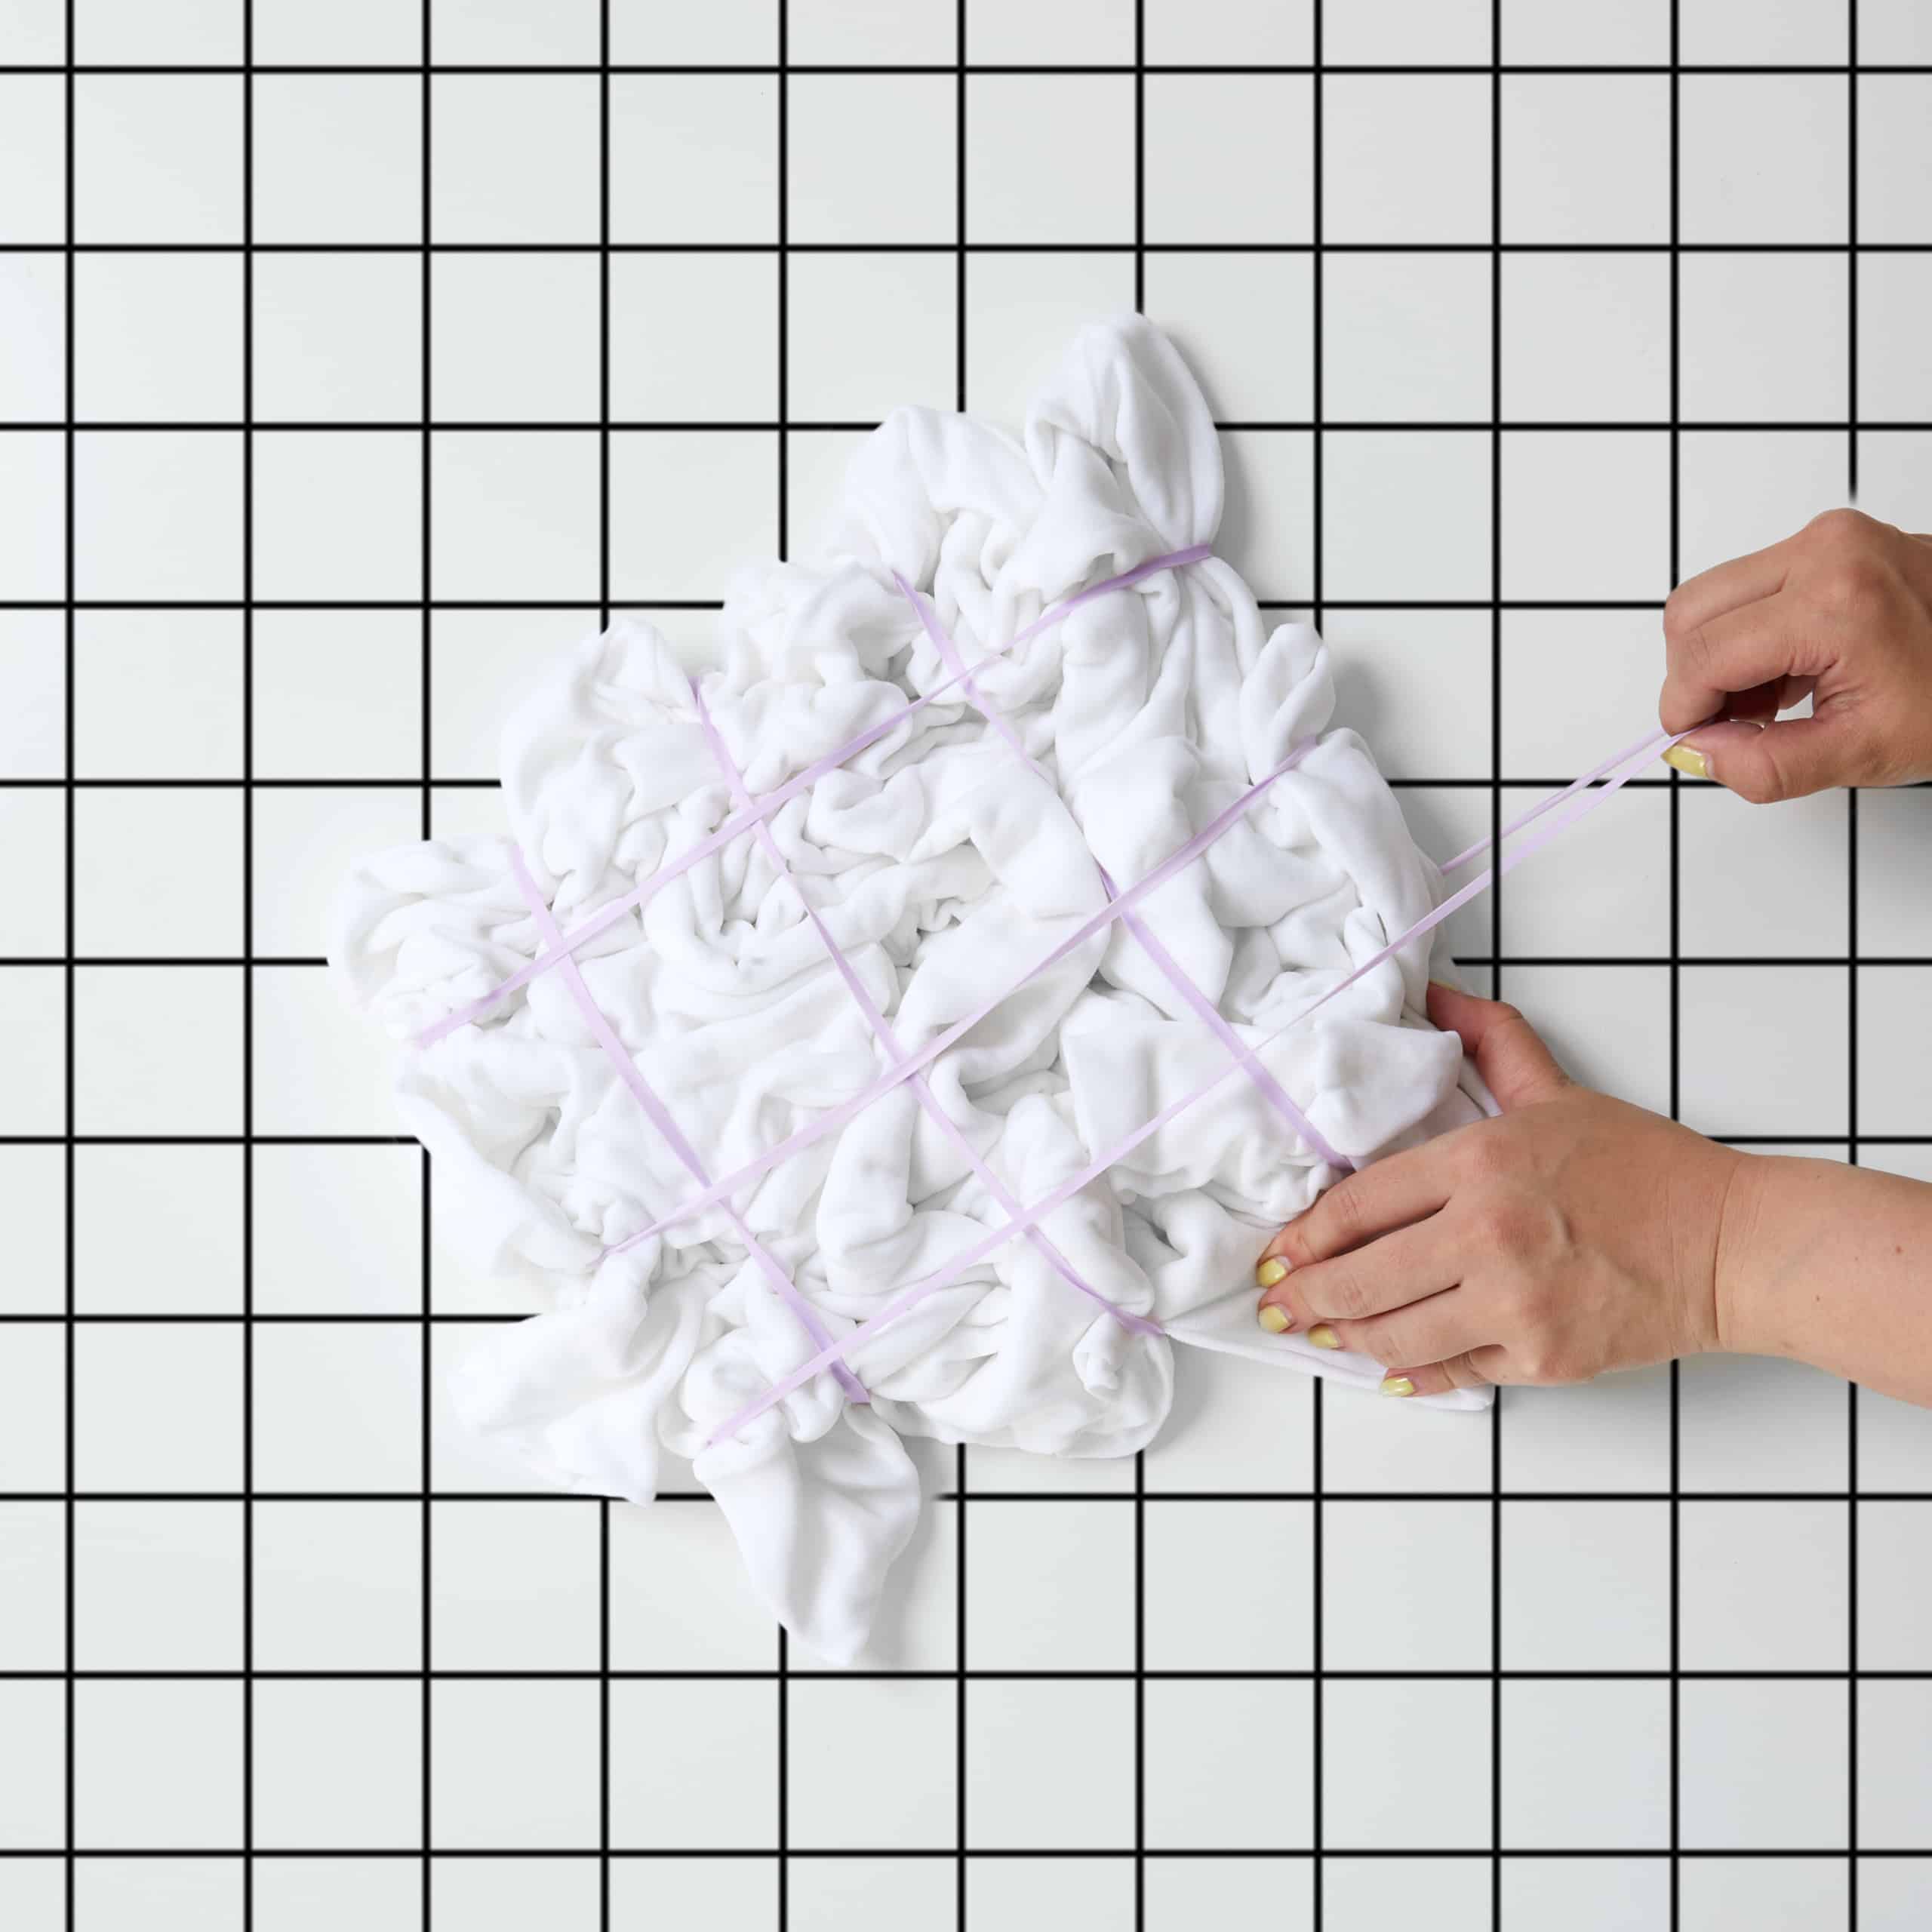
3- Wrap rubber bands tightly around the fabric at various points. The rubber bands act as a resist and creates white spaces. The more rubber bands you use and the tighter they are wrapped, the more white space there will be
 4- Wearing rubber gloves, mix 2 tablespoons of well-shaken liquid dye or 1/2 teaspoon of powdered dye with two cups of hot tap water.
5- Add 1 tablespoon of salt.
6- Pour into a squirt bottle. Shake well. Repeat for each color.
7- Place bound fabric on baking rack with a tray under it. This is very important because it keeps the dye from puddling under the fabric.
8- Squirt each dye color on fabric as desired.
9- Squeeze dye onto fabric in random sections. Flip over and repeat.
10- To set the dye, apply Rit ColorStay Dye Fixative with a squeeze bottle, which will enhance the colors and reduce bleeding. Mix 2 tablespoons of well-shaken ColorStay Dye Fixative with water and apply liberally to both sides of the fabric.
11- We strongly recommend using your microwave, as long as the fabric does not have any metal parts on it. After applying ColorStay Dye Fixative, place fabric in microwave tray and heat for 2 minutes .Once the microwave is done, remove the fabric and open the tray, letting it cool down.
12- If a microwave is not available or feasible to use and it is a hot sunny day, place the microwave tray out in the sun for an hour.
13- Rinse in cool water until rinse water begins to run clear. This is very important to prevent unabsorbed dye from bleeding into any white areas. If possible, rinse with the fabric bundle sitting flat on the baking rack. If it is held vertically, some of the unabsorbed dye could run into white areas as it is rinsed off.
14- Carefully remove rubber bands with a scissors and unfold the fabric.
15- Wash in cold water with a mild detergent, rinse and dry.
Contact us at (416) 461-1033, email us at info@wotever-inc.com, or follow us on social media! And don’t forget to visit our store in-person or shop online to see our massive selection of proudly Canadian products.
 All-Purpose Liquid Dye

