Home
Blog
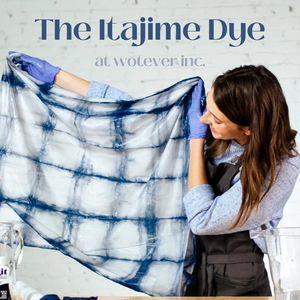
The Itajime style, the classic Shibori Dye
The Itajime style, the classic Shibori Dye
September 08, 2023
The Itajime Dyeing Style is a classic Shibori look. When thinking of Shibori, most people first think of the Itajime style.
Here is a quick tutorial on how to dye the Itajime Style!
1- Before dyeing,
remove any visibile stains on the fabric. This will help achieve uniform color results when dyeing.
Prewash item in warm, soapy water without any fabric softener. This helps to remove any finishes that may interfere with dye absorption.
2- Gather supplies. Shibori is traditionally done with Indigo hues.
3- Cover work area with plastic table cover and have paper towels handy to protect against any possible spills.
4- Wet fabric and squeeze out any excess water.
5- To create a traditional Itajime pattern, accordion fold or “fan fold” the fabric in 4.5-inch / 11.5-cm wide folds down the length of the fabric. This will form a long rectangle. For more pattern variations, vary the size and width of the folds.
6- Accordion fold or “fan fold” the long rectangle into a 4.5-inch / 11.5-cm fabric square.
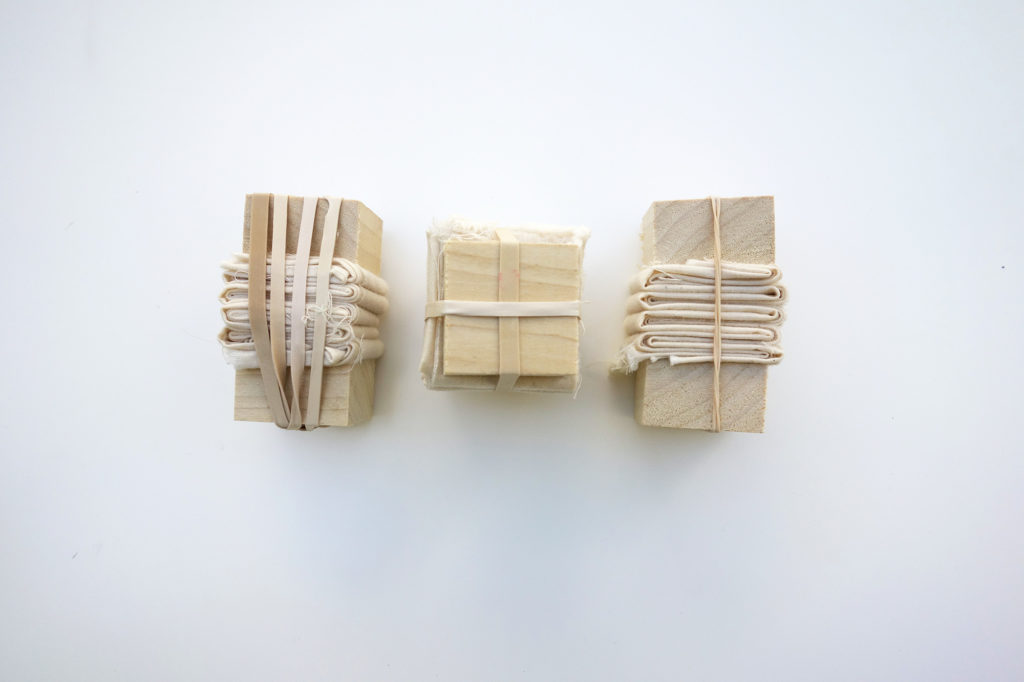
7- Sandwich the fabric square between the 4-inch / 10-cm blocks of wood.
8- Secure “sandwich” with
rubber bands to tightly hold the fabric square together.
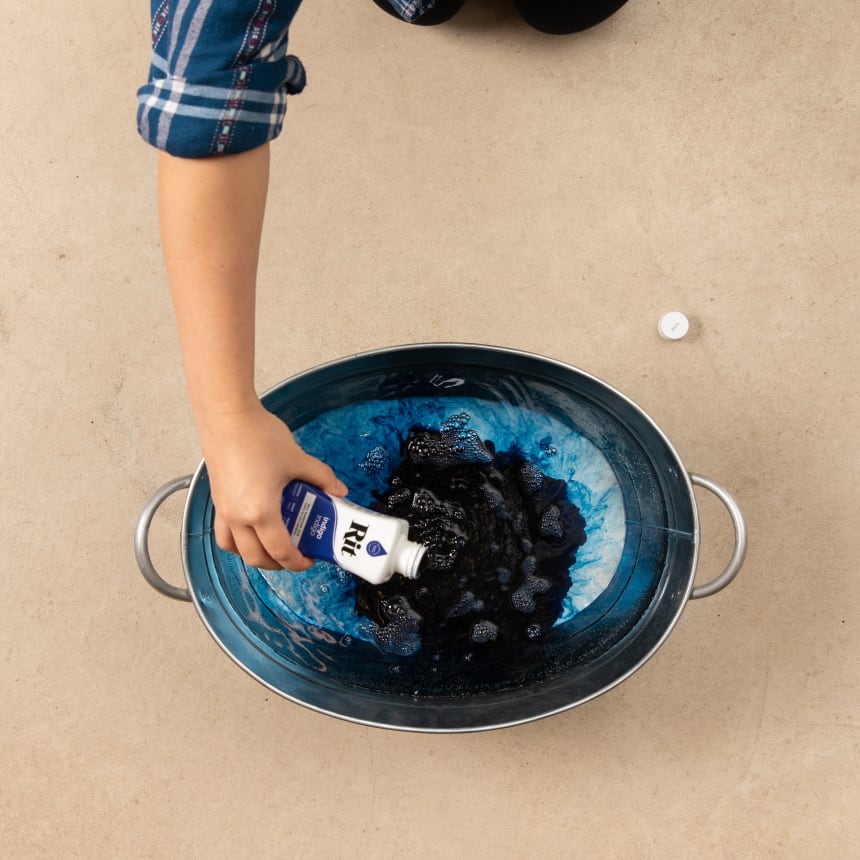
9- Fill a plastic container or stainless steel sink with two gallons of hot water. The water should ideally be 140ºF / 60°C. If tap water is not hot enough, heat water on the stove and add to the dyebath.
10- To enhance the color: (1) add 1 cup / 240 mL of
salt when dyeing fabrics containing cotton, rayon, ramie or linen; (2) add 1 cup / 240 mL of
vinegar when dyeing fabrics containing nylon, silk or wool.
11- Add 1 teaspoon of dish detergent to help promote level dyeing.
12-As a general guideline, one liquid bottle or two powder packages dyes up to two pounds of dry fabric.
14- Add sandwich to bath. For a high contrast pattern, keep the sandwich in the dyebath for about 3 to 5 minutes to keep the wrapped part dye-free. For more color and less white areas, leave the wrapped fabric set in the dyebath for 10 to 20 minutes.
15- When desired color is achieved, remove wrapped fabric from the dyebath. Do not remove wood blocks.
16-We strongly recommend using
Rit ColorStay Fixative immediately after dyeing and before washing. It enhances the color, increases color retention and prevents dye from bleeding into white areas.
17- Rinse in cool water until rinse water begins to run clear.
18- Carefully remove wood blocks and rubber bands. Unfold the fabric.
19- Wash in warm water with a mild detergent, rinse and dry.
And you are done!
.
CONTACT US
Contact us at (416) 461-1033, email us at info@wotever-inc.com, or follow us on social media! And don’t forget to visit our store in-person or shop online to see our massive selection of proudly Canadian products.
.

 13- Wearing

